Full 'Burst' style re-wire for an incredible 80/81 Tokai LS120
Can't tell you how much I enjoyed this one. I've had a lot of Les Paul Standards in my hands over the years, right through the price ranges from factory standards, historics, traditionals, 80s, 90s to Custom Shop and Murphy Lab, (although 50s ones have alluded me so far I must say) but this incredible Tokai LS120 from 1980/81 is honestly the best and most fun to play I've come across. I do struggle to feel comfortable with an LP in my hands, I'm 6'6" so LPs always feel a little small, combine that with their slightly shorter scale of generally speaking, 24.75", I feel a bit cramped up. But all of this went straight out of the window on this awesome thing, played in perfectly, lively sounding acoustically, no dead spots and a breeze under the fingers. Due to it's age though of course, the wiring was getting tired. These were equipped with a quite cool PCB layout from the Japanese factory, usually those things can be tricky to be servicable but this one you could quite easily replace jack connections, change tone caps, change pots etc with relative ease. But it's custodian figured it's time and likely best to lift that all out as a whole for safe keeping, and go for a nice spec traditional re-wire. So I got to work...
Original wiring on the PCB was with 500k pots all round, wired 'modern' style and did have some Orange Drop .022uF but I have a gut feeling those had been installed at a later point. Switch was the typical import spec toggle, and jack the same so even if the tonal improvements are left to forum users to argue over, in a reliability sense I think the new replacements will do the guitar justice for many more years to come. I set to work removing the old wiring as cleanly as possible, so if it ever did want/need to go back to original components it would be easily done. So disconnected the 4 conductor switch wires from the PCB, the pickup wires and the bridge ground wire. The jack socket was wired directly to the PCB so I left that in situ undisturbed. Here's a quick run through of those process photos - 


Being a Japanese made instrument, understandbly the existing components were metric sizes and threads. At some point it must have had new control knobs fitted as those were all 'US' imperial / CTS suitable sizes so can re-use those, though. But in terms of the 4 holes in the body to mount the pots, and the hole in the jack plate to fit the socket, those required widening. For this I always personally recommend and use a step cutter bit. Controlled, vastly reduces risk of chipping the finish and just does a cleaner job for this task.


Now on with making the new loom. This will be made with all the good bits I would normally opt to use, so CTS 450 series 'SSSP' 500k pots (short, split shaft for this particular spec), 20swg tinned copper ground bus wire, Switchcraft USA 3 way toggle, Gavitt 22awg braided wire and a Pure Tone multi contact jack socket. It was also decided to go for some 'burst' '59 spec Bumblebees for this, and the Jupiter Condenser brand USA made replicas wered sourced. All wired to the 50s style schematic.


Upon doing a little test fitting, I noted that with the switch in situ the ground lug was a little close to the cavity wall so opted to bend a little 90 degree into the ground lug when prepping for soldering just to ensure it clears comfortably. 


With the core two sections of the loom soldered and prepared, I'll complete the final connections upon install. So let's do just that!
First up is the switch, feeding the wires through the body, wire channels and into the pots cavity.


With the switch wires fed through, I pop the two volume pot signal wires out of the way (I always colour code my wires to help make this process easier) and concentrate on the wire to the jack first. So I trim it to a better suited length, feed over a cut length of PVC tubing to insulate the braiding (prevent it from touching any of the signal points as it passes through the main pots cavity) then crack on with soldering the jack socket.


With that in situ and soldered/mounted up. I can now fit the pre-wired pots/caps and prepare for the remaining final connections from the switch, pickups and bridge ground wires.

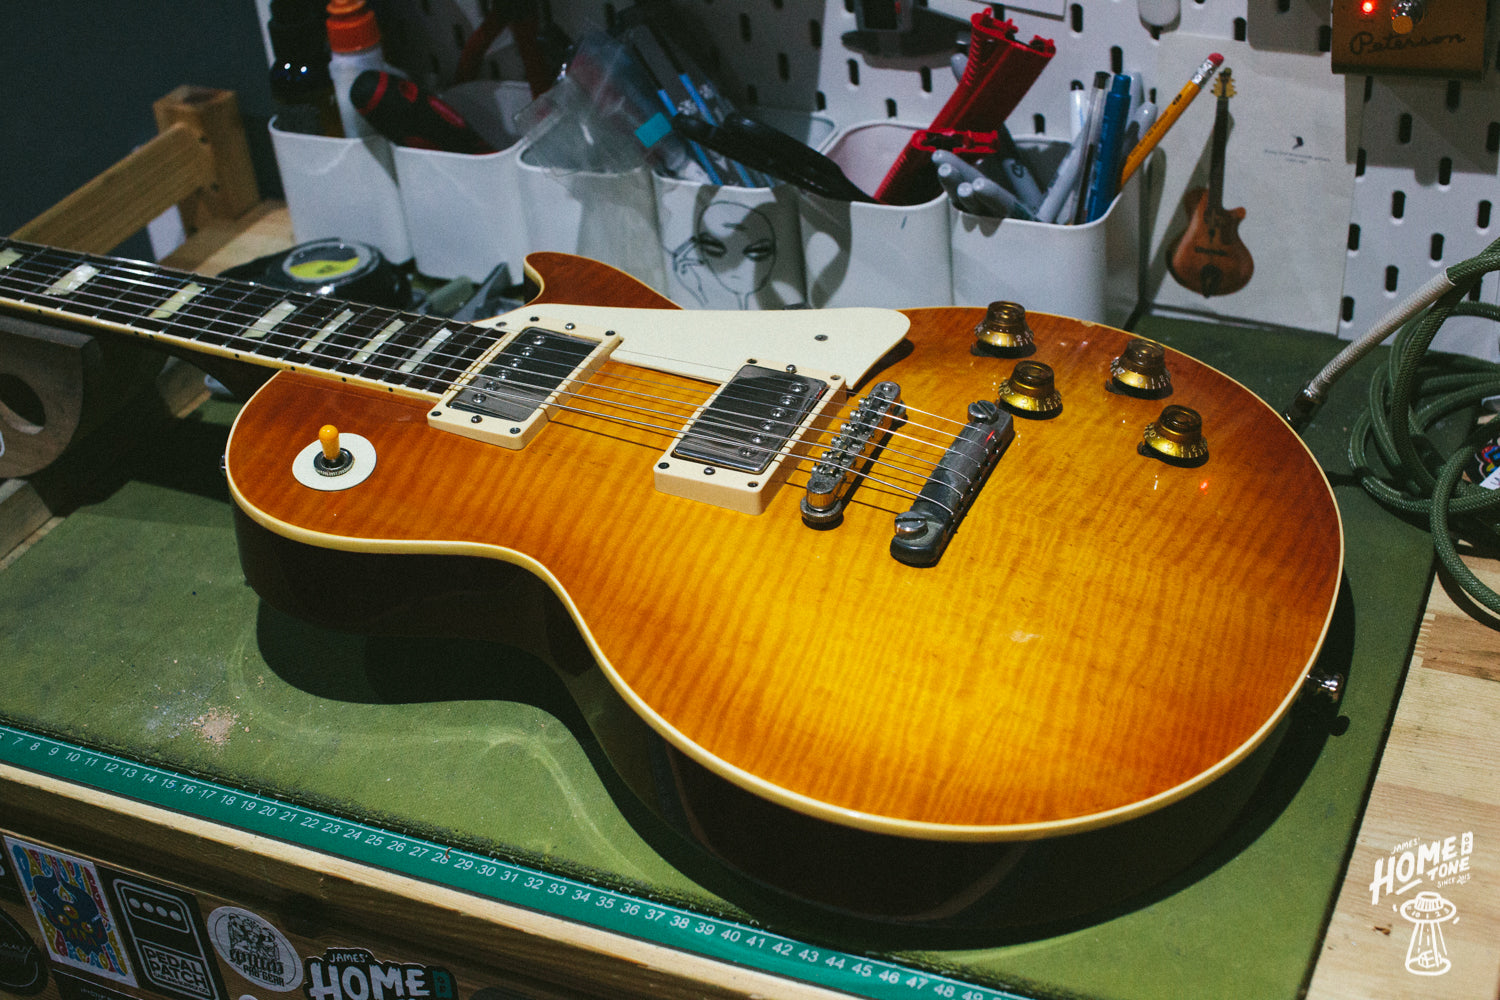
And there we have it. Full new loom in the guitar and ready to commence with a setup. I haven't done a full run down/step by step guide here as I have done exactly that prior here on the blog. But I did want to feature the burst style re-wire here to share with you all. Here are some final pics after the setup, of the guitar looking damn good indeed!


Would you like to have your guitar professionally re-wired? Then please get in touch and I'll be happy to help :) Click HERE for more info on servicing/setup work carried out at James' Home of Tone