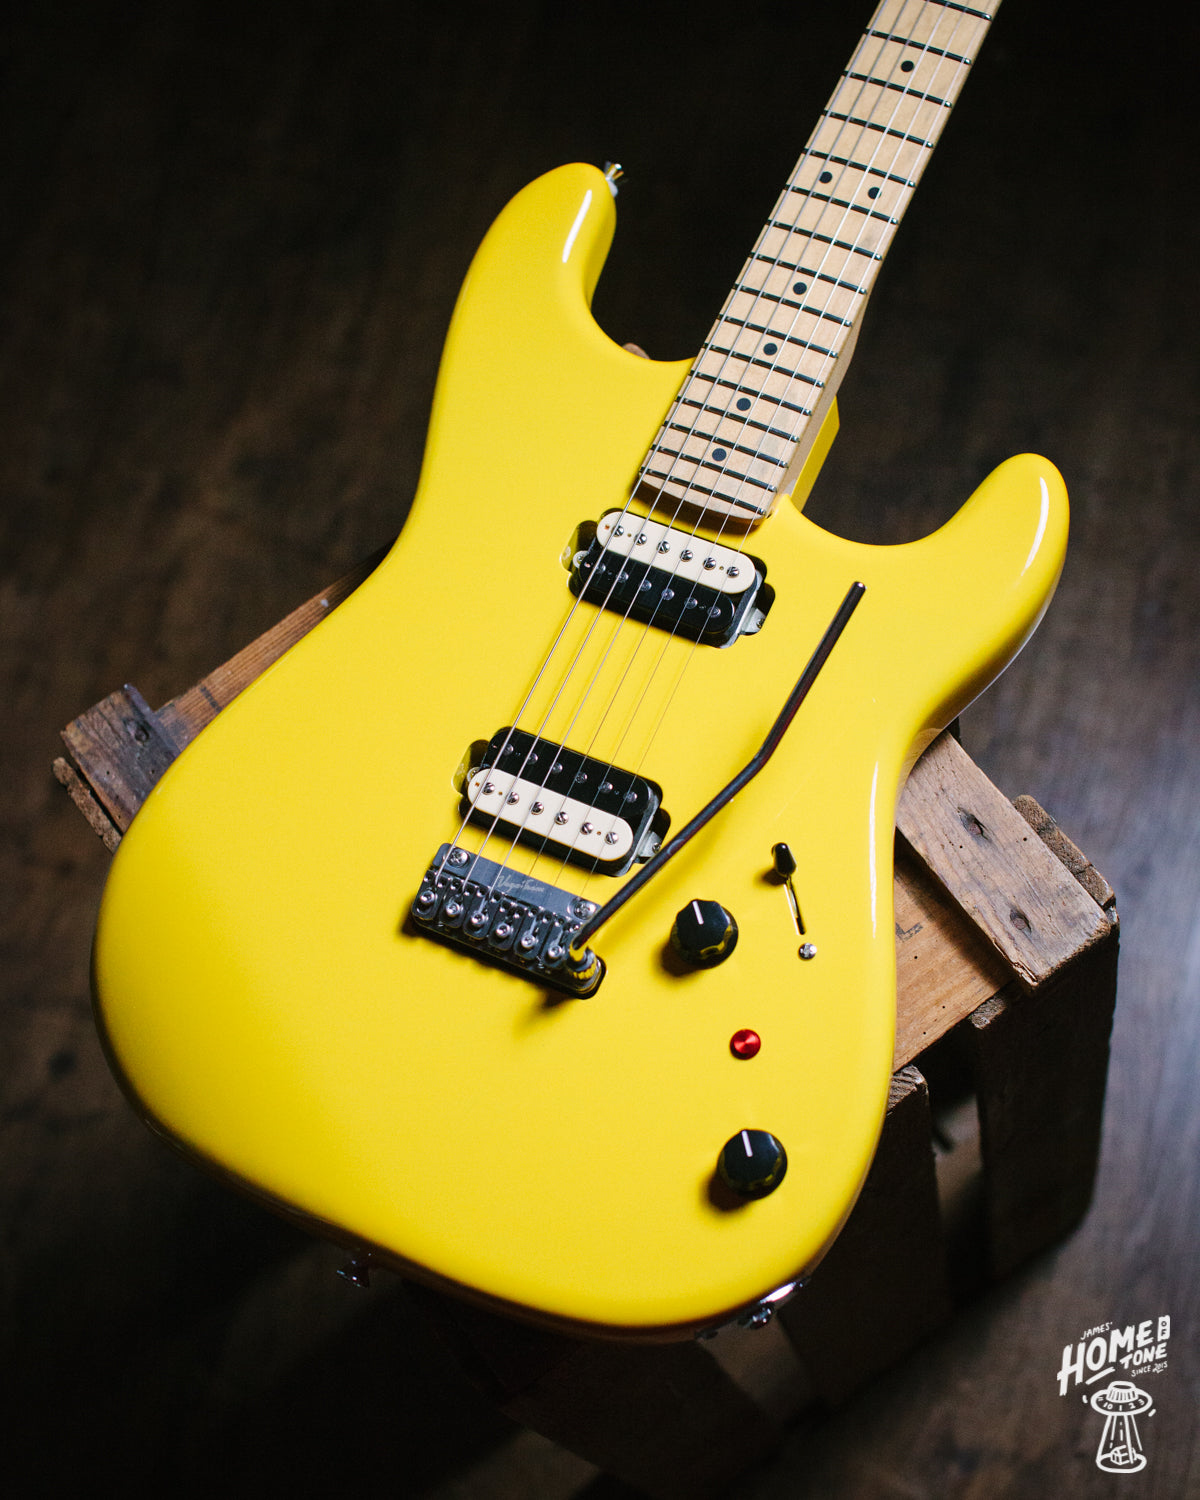
An awesome Ferrari Yellow Super Strat for Ryan!
This was a wicked project to be part of. A great Home of Tone supporter, Ryan, mentioned he had a project in mind quite some time ago, making use of an old Mighty Mite maple neck he had for years, along with a HH super strat body he picked up for a good deal from Guitar Build. After some discussion over time, specs were decided on and parts were compiled, body was painted and it was time for me to get stuck into assembly for him.
I won't go into lots of detail of each step of the assembly, as I've covered a lot of the same kinds of things a number of times on the blog via other partscaster builds. But I'll share the photos nonetheless.
Very much an EVH inspired build, featuring some wicked parts, some of which I was lucky enough to supply as well as install, such as numerous Gotoh hardware items, the Vega-Trem bridge, Tesi Switch kill switch button and all of the wiring.
Here's some build photos and hope you like it! Seriously fun guitar to see come to life.


The guitar has a rear access electronics cavity, which meant it also has a back plate to cover the cavity. After painting these were too tight of a fit, so I needed to carefully sand the edges/lip of the cavity and plate itself to help them fit a little better.


I ensured I correctly countersunk all of the wood screw holes to ensure not only a neat look, but to also help ensure no un wanted lacquer cracks/splits occured.


I couldn't help but use yellow wire for the spring claw ground wire! Seeing as it'll be visible from the back.

The neck pocket had quite a large overlap of paint from the finishing process, so I set about cleaning/refining those edges to help ensure a nice clean seat of the neck within the pocket.


The body was pre-drilled/prepped for a standard 6 screw Strat bridge, but this build was getting an awesome 2 point Vega-Trem so I set to work checking alignment/placement and drilling out the holes for the fixing/pivot bar.

The pickups (Oil City) were due to be body mounted for this project, so no mounting rings etc. This takes a little bit of careful planning, from alignment/positioning to ensuring you have the perfect length mounting screws too.
I personally like to use springs and under pickup foam for this pickup mounting style to ensure solid/stable adjustment. Works great


With the pickups in, it was time to wire it up. This was getting a really nice and simple config, volume, tone, 3 way blade and a Tesi Switch kill switch in the middle.


Very cool project, a superb shreddy super strat!


I won't go into lots of detail of each step of the assembly, as I've covered a lot of the same kinds of things a number of times on the blog via other partscaster builds. But I'll share the photos nonetheless.
Very much an EVH inspired build, featuring some wicked parts, some of which I was lucky enough to supply as well as install, such as numerous Gotoh hardware items, the Vega-Trem bridge, Tesi Switch kill switch button and all of the wiring.
Here's some build photos and hope you like it! Seriously fun guitar to see come to life.
The guitar has a rear access electronics cavity, which meant it also has a back plate to cover the cavity. After painting these were too tight of a fit, so I needed to carefully sand the edges/lip of the cavity and plate itself to help them fit a little better.
I ensured I correctly countersunk all of the wood screw holes to ensure not only a neat look, but to also help ensure no un wanted lacquer cracks/splits occured.
I couldn't help but use yellow wire for the spring claw ground wire! Seeing as it'll be visible from the back.
The neck pocket had quite a large overlap of paint from the finishing process, so I set about cleaning/refining those edges to help ensure a nice clean seat of the neck within the pocket.
The body was pre-drilled/prepped for a standard 6 screw Strat bridge, but this build was getting an awesome 2 point Vega-Trem so I set to work checking alignment/placement and drilling out the holes for the fixing/pivot bar.
The pickups (Oil City) were due to be body mounted for this project, so no mounting rings etc. This takes a little bit of careful planning, from alignment/positioning to ensuring you have the perfect length mounting screws too.
I personally like to use springs and under pickup foam for this pickup mounting style to ensure solid/stable adjustment. Works great
With the pickups in, it was time to wire it up. This was getting a really nice and simple config, volume, tone, 3 way blade and a Tesi Switch kill switch in the middle.
Very cool project, a superb shreddy super strat!