How to Guide - Wiring a Les Paul
Replacing, or in some cases, upgrading your Les Paul’s wiring may be a matter of necessity if there are niggling faults like noisy pots or a faulty switch perhaps. But you may also have considered replacing it as a way of improving or modifying the guitar to suit your personal tastes too, whether it’s a traditional 50s style re wire or adding push pull pots for coil splitting for further versatility. I have decided to put together this article, with each aspect of a re-wire pieced together as sub-articles, to help point out some details which will hopefully help you in re-wiring your Les Paul, whether that's with individual components, or with a pre-wired harness kit. As there is so much to cover here, I quickly realised that attempting to do this all in one article would be too much, so I have decided to have one main article here and link to smaller articles for each stage/task of the process. That way you don’t have to read through every detail if you are only taking on a specific task.
I'm going to touch on things to consider along the way and hopefully help make the process as stress free as can be if you're new to guitar wiring. It’s a very rewarding task to carry out and great skill to learn as a guitarist, providing you take your time and have the correct tools to hand. Best tool of all is definitely patience for this one though!
There are so many variables to consider when planning a re-wire, it's inevitable that I won't have covered some specifics due to this . But I will do my best to cover most possibilities, such as where the Les Paul is made and what effect that has on the mods you need to carry out to improve the wiring components. Pickup wire types such as traditional braided 2 conductor or modern 4 conductor, factory fitted PCB wiring etc. There is a strong chance you'll encounter one of these hold ups along the way and hopefully this guide will help with the best way to deal with each situation.
Let’s start by looking at the best selection of tools to use for the task at hand -
1. 40W Soldering iron
If you're working with lead free solder, which has a higher melting temp than leaded solder, then you'll need an iron that can achieve around a 300-400 degree Celsius working temperature. I find this is an ideal working temperature for nice & clean solder joints and you should find a 40w iron will achieve these kinds of temps, making for a great 'at home' guitar work iron. If you have an adjustable temp one too then even better, as you will find that pot lug connections require a little less working heat than a ground connection does for example.
2. A damp sponge or brass wool ball cleaner
You want to keep your soldering iron tip as clean as possible throughout the work to ensure good heat transfer and a clean solder joint. To do this you will need either a damp sponge to wipe the iron tip clean, or if preferred a brass wool ball. Either can prove effective, which you prefer may be down to which iron you have or personal preferences.
3. Solder
I personally use lead-free solder due to commercial reasons, and more specifically tend to use Rapid 22SWG Lead-free 0.7mm diameter solder. You can use leaded solder like 60/40 for example but be aware of the risks involved of handling and inhaling fumes from leaded solder. Although lead free solder has a hotter melting point, this type does have a flux core which makes life a little easier when working. But the flux core fumes have their own dangers. Some techs swear only by leaded solder, I am happy to use lead free generally and have gotten used to using it now. But ultimately, if you're only doing this one project, or bare minimum soldering then it likely won't be any risk but it is worth being aware of any risks involved and make sure you look after your lungs and health!
4. Fume extractor
Now this will be overkill if you only plan on a single re-wire or infrequent wiring projects, but in light of the details above I thought it was worth noting. Ideally some form of fume extraction is worth considering, whether it's a task specific extractor, or being considerate of where you are planning to do the work, simply to help prevent solder fumes being breathed in. Even lead free solder has it’s downfalls, such as flux fumes which when breathed in can be harmful etc so better to be safe. If this is a one off task then it might seem like overkill, granted. User discretion here.
5. Cross head screwdrivers
Nice and simple, these are for removal of any control plates, pickups, mounting rings etc.
6. Wire cutters and small/needle nose pliers
For trimming of wires within the cavity, and great for doing finer work and handling small wires within a tight cavity. Invaluable tools for guitar wiring work. I use them more than the iron!
7. Wire Strippers
Now these depend on what type of wires you're using or what type of pickup wires you have. If you have plastic coated pickup wires such as those used on 4 conductor wire pickups, wire strippers are an important tool to have to hand and make the process a whole lot easier than trying to trim back plastic wire coating with a blade, which is a cutting hazard in of itself really.
8. Sockets
A 13mm socket is perfect for loosening/tightening of CTS and jack socket nuts, and perhaps a smaller 10 or 11mm socket for smaller metric spec pot nuts (which can sometimes vary depending on manufacturer)
9. Cloths
I use cloths or tissue paper a lot during a wiring install. They can be really helpful in protecting the guitar’s finish whilst installing components.
10. Step cutter & drill bit
Step cutters are a fantastic tool for safely widening the pot mounting holes for imperial spec pots. It reduces the risk of chipping the finish or lacquer. But ideally you need a straight 10mm drill bit to, just to run through the hole afterwards for a clean edge. But if you don't have a step cutter, you can also run a straight drill bit backwards. This also helps reduce the risk of chipping the finish.
11. Multi spanner
Multi tools such as those made by MusicNomad are very useful for Les Paul owners in general. Ideal for safe removal of toggle switch nuts & removal of control knobs during a wiring install. But they're also very helpful for tune-o-matic bridge adjustments too. So a handy tool to have in the guitar case regardless.
12. Low tack masking tape (not photographed)
I thought I'd mention this additionally as this might be useful to hold back wires, keep things in place whilst working or keep the cloth/protective covering in place whilst making in situ solder joints.
Now we've looked at some of the useful tools for guitar wiring work, let's now look over the components needed for a Les Paul re-wire (unless of course you're fitting a pre-wired harness which will include all, or the majority of the parts required)
- 4x Pots
These may vary depending on your plans, or guitar specifications. A traditional configuration would mean you’d just need four long or short shaft pots depending on body specs. But alternative wiring styles could require a mixture of normal or push/pull pots so best thing to do is consult your wiring diagram to ensure you have the correct pots for that particular wiring style.
- New control knobs
This may only be relevant for those upgrading a far east built Les Paul as the original control knobs will likely be for the smaller metric sized pots with 18 spline fittings. Whereas Imperial spec CTS or Bourns pots require 24 spline control knobs to fit correctly with a slightly wider 6mm opening.
- Pickup selector switch
My personal preference is a Switchcraft Short Frame switch. The reason for this is that they suit a much wider range of Les Pauls, and are easier to fit into the cavity whilst squeezing all of the wires through the wire channeling. You also don’t need an additional extended nut as the thread length is longer on the short frame switch which helps upon install too. But you can of course still use a traditional long frame toggle switch, just be aware you will need an extended nut to be able to fit it through the body top and also not all Les Pauls (such as a Les Paul special for example) don't fit a long frame switch. Safe bet is the short frame version.
- Switch tip
Again, similar to the control knob notes above. For those upgrading a far eastern build Les Paul will find that the old metric spec switch tip won’t fit the imperial spec Switchcraft tip, so you will likely need a new one. I supply a new one included with my harness kit, or if you are buying a separate switch I also offer the option of buying a switch with a tip of your choice included.
- 2x Tone capacitors
This can be an endless rabbit hole or forum argument in of itself. But to keep things simple, type and value may differ here depending on numerous factors or personal preferences. But a common spec cap for Les Pauls are .022uF for both neck and bridge pickups or sometimes .015uF for the neck pickup position. If you’re not familiar with values, then best recommendation is to consult with the pickup manufacturer for their ‘optimal’ value to suit the pickup model.
- Wire
Traditionally, Les Pauls were wired with 22awg cloth covered out braided 2 conductor wire. These are primarily required for the connection between the switch and volume pots and jack socket. But you could also use single core 22awg wire too. No right or wrong here, just depends on your preference or intentions for the re wire. I guess my recommendation here is that if you are going for a simple 50s or mdoern style wiring scheme, then braided wire is perfect. But if you're doing a push/pull style install, particularly for the volume pot positions, you may find soldering the braided part of the wire to the pot casing difficult due to the restricted space in the cavity, so separate single core wires might be really helpful here.
- Ground or ‘bus’ wire
This is helpful for making the ground connection on the switch as well as ground connections between each of the pots if your Les Paul doesn’t already have cavity shielding or a ground plate installed. I personally use a fairly chunky 20AWG gauge wire for this, simply because it keeps everything nice and sturdy whilst installing, but a finer 22awg gauge would be fine too for example.
- Jack socket
You may want to re use the original if it’s in good condition or of decent quality. But if you want to replace it, best to do so with a quality and reliable/long lasting item like the Pure Tone or Switchcraft jacks.
- Heat shrink or plastic tubing (optiional)
This isn’t a necessity but can be very useful for neatening wires as they pass through the wire channels and control cavity, or to insulate the braided wire to help prevent it touching a live connection. If you’re using non braided wire, but rather single core type individual wires then you probably won’t need any.
- Pre-Wired harness kits
Buying a pre-wired harness kit can have a number of benefits, regardless of your existing soldering abilities. As the bulk of the wiring work is done already for you, and for the most part using the best components available which are tested and checked for tolerances and functionality like my Signature Series harnesses for example, it reduces the time spent carrying out the work and sometimes even costs as a result too. If it's your very first wiring install, they can really help build your confidence in carrying out the work and teach you some of the basics that perhaps means you could do it all on your own with the next guitar project. I have guitar makers, guitar techs as well as home 'DIY' customers order and use my harness kits, for some, the costs and reduced work involved is a no brainer and harnesses help a great deal. But I respect that some of you will simply prefer doing it from scratch, and hopefully these guides will help whether you're using a pre wired harness or not!
So we've covered the tools required, and what parts you need. About time we crack on with the install really isn't it? As mentioned previously, due to the vast possibilities here, guitar specs or wiring styles. I have decided to do this in sections, each linked to their own guide/article. Below you will find a link to each of these guides, which will open a new window and allow you to complete that task step by step and refer back to this list for the next relevant stage of the install for you. Rather than have everything all piled into one article which will have you scrolling for a lifetime trying to find the relevant part for you. I hope this helps and see you on the other side, LP all wired back up!
Identifying whether you'll need long or short shaft pots
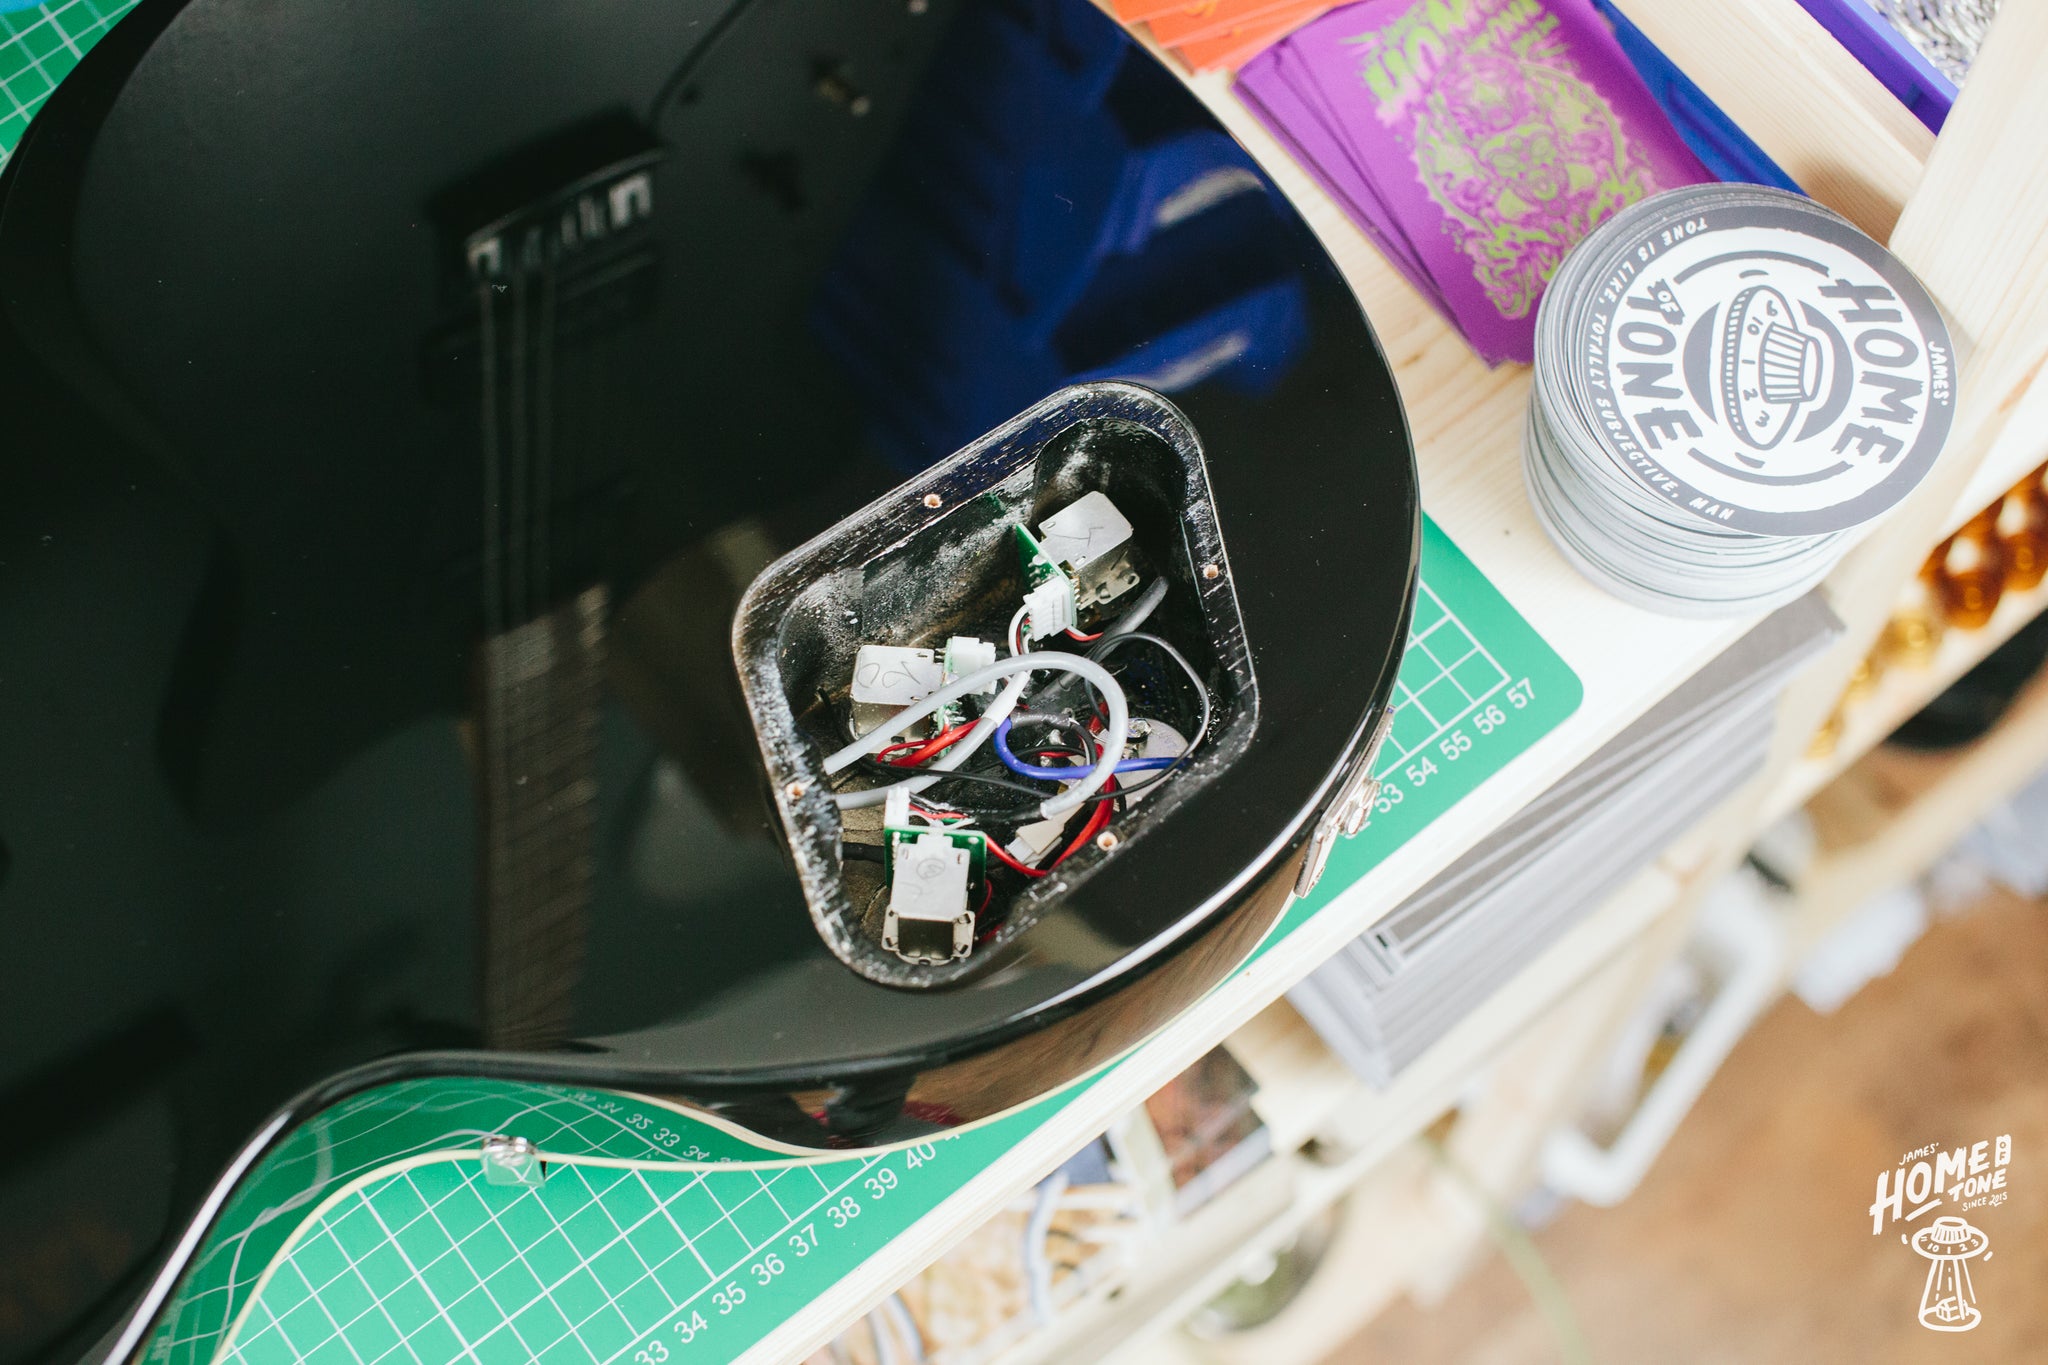
Removing cavity covers and the original wiring
For 'import' models - Drilling out the pot mounting holes to suit CTS/imperial spec pots
Making your own 50s or modern style harness/loom (pots section only)
Making your own 3 way toggle switch harness with traditional braided wire
Pre-Tinning solder connections - Separate video demonstration
Installing a 50s or modern style harness (full kit install)
Installing push-fit control knobs safely - Separate video demonstration